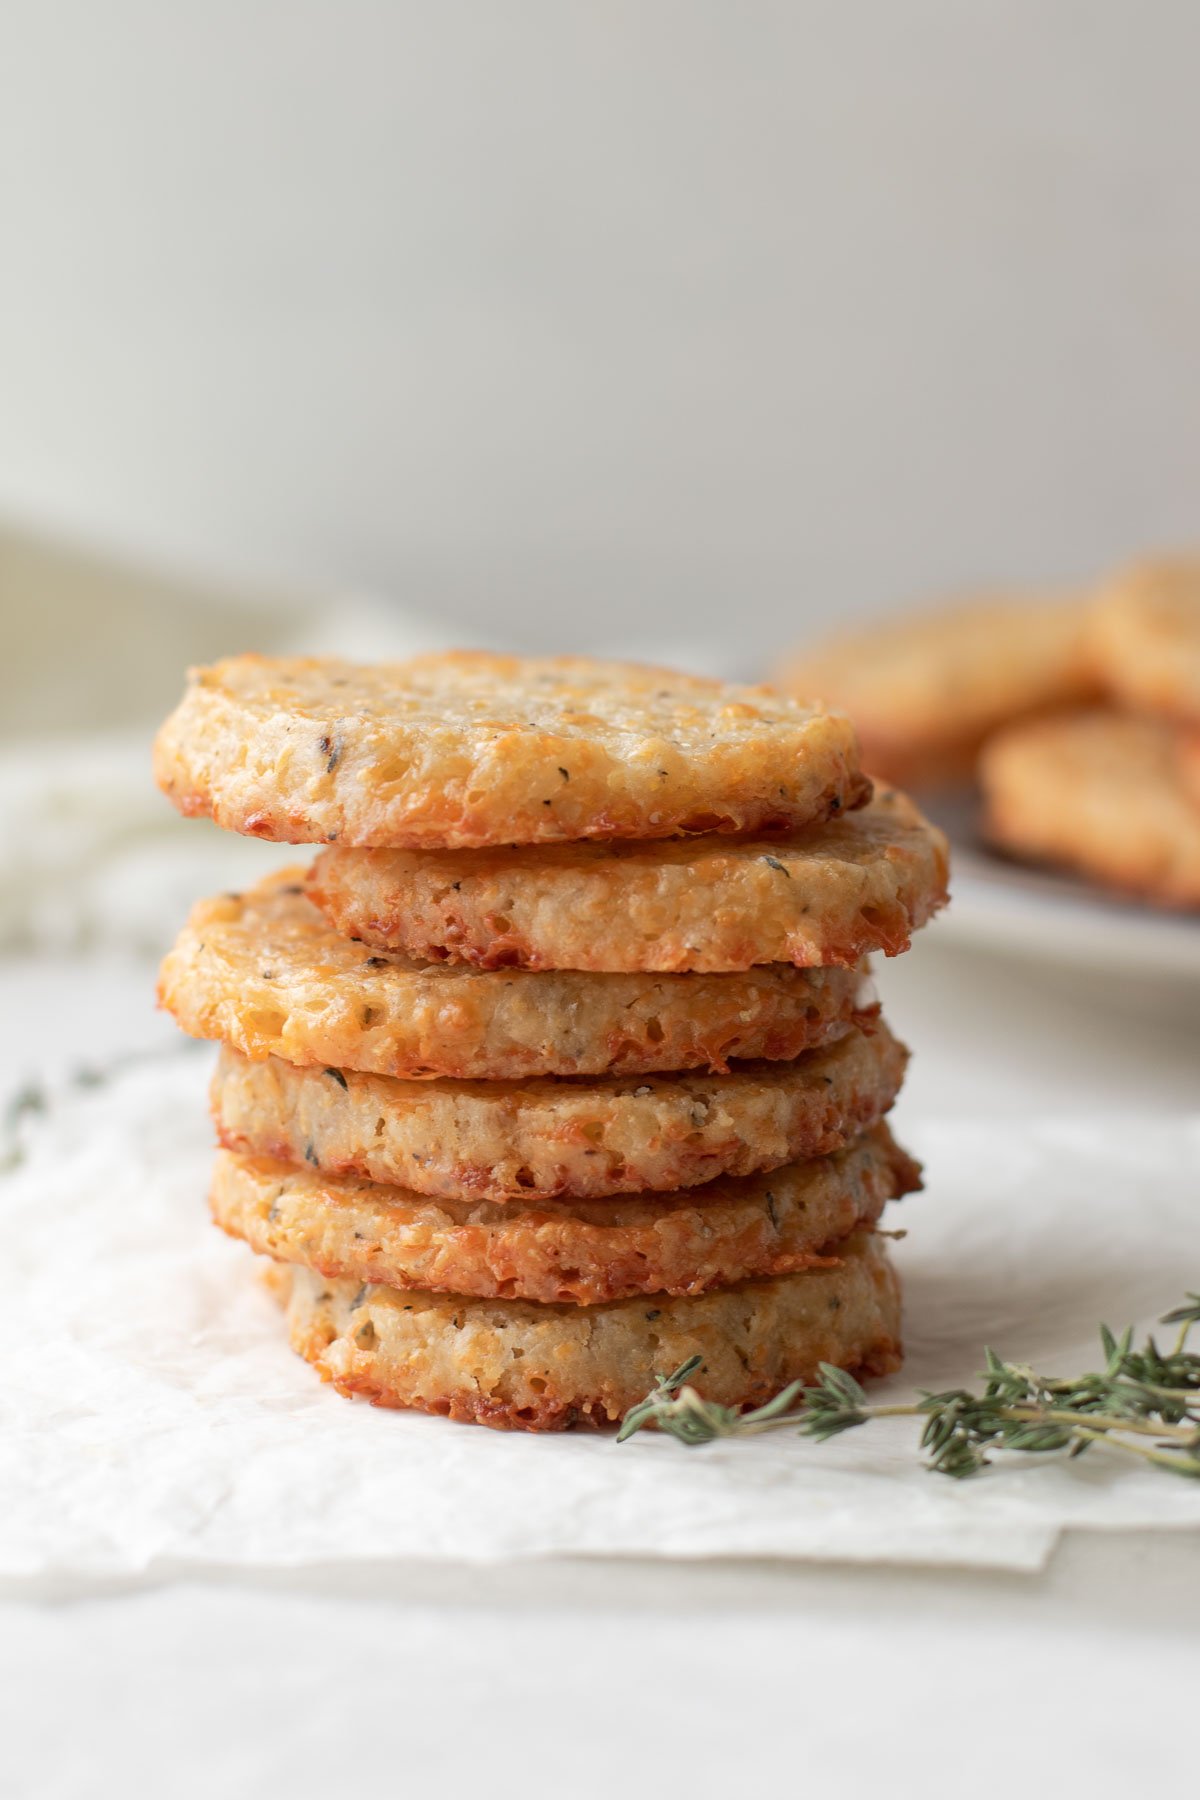
These savory cookies are an easy holiday appetizer that you’ll want to make over and over again. The cookies are rich and cheesy with just enough fresh herbs. It’s a quick recipe that can be prepared up to a month ahead of time!
This post is sponsored by my friends at Cabot Creamery.
These cheese cookies are much like the cheese straws I remember having at every single Christmas party I’ve ever been to here in the South. Those might be called cheese straws, pennies, or coins and are typically made with cheddar cheese, flour, butter, and a pinch of cayenne pepper.
For a twist, I added fresh thyme and I’m using one of my favorite aged cheddar cheeses. It’s creamy and packed with a nutty flavor that will remind you of parmesan.
I’m serving these as part of my holiday and New Year’s Eve cheese boards but they are perfect to share anytime during the year for a savory and satisfying snack.
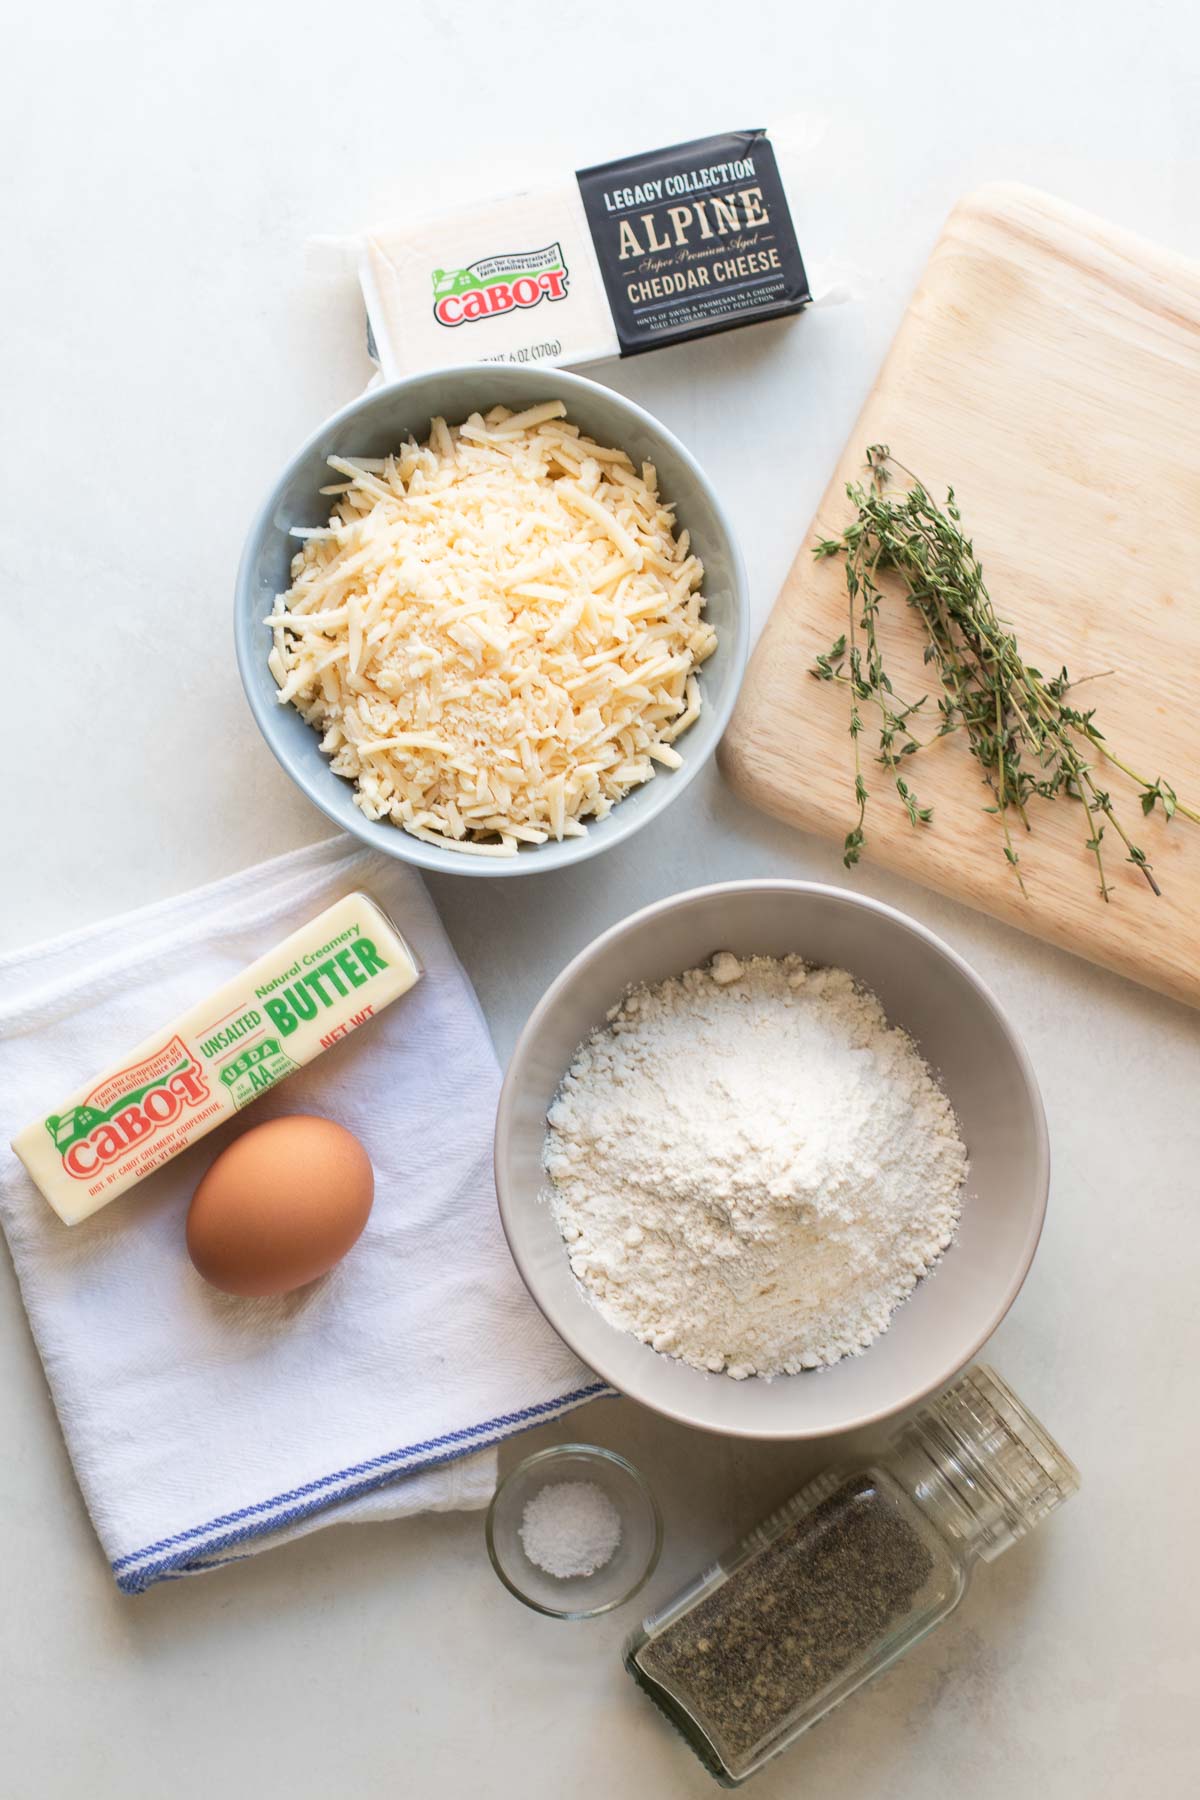
You will need
All-purpose flour
Cabot Alpine Cheddar Cheese
Unsalted butter
Fresh thyme (or other herbs)
Salt and fresh cracked black pepper
Iced water
Egg (optional)
Food processor, preferably with a grater attachment
(Scroll down for the step-by-step recipe)
Tips for preparing cheese cookies
These cookies are worth pulling out the food processor. It does double duty here. And is actually the only “bowl” you’ll need. Here are a few tips for the best results:
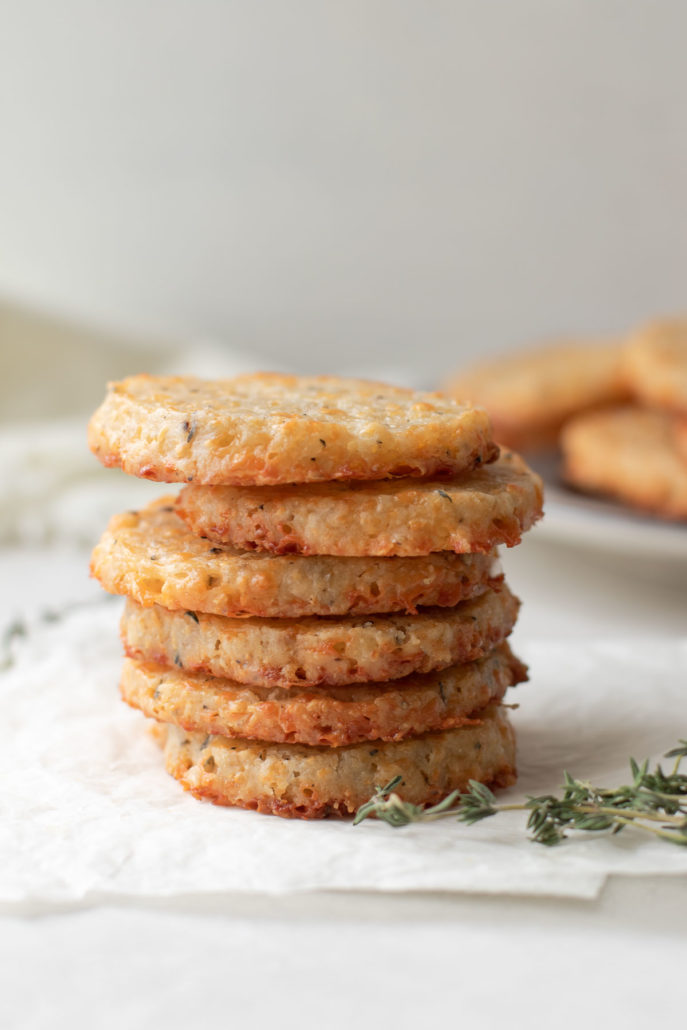
Slice the cookies into the same thickness. To ensure the cookies bake evenly, slice them to the same thickness about ½ inch thick and 2 inches across.
Shred your cheese from a block. Packaged shredded cheese has its place but this recipe works best with freshly grated cheese. This is an important step to maintain the moisture in this recipe.
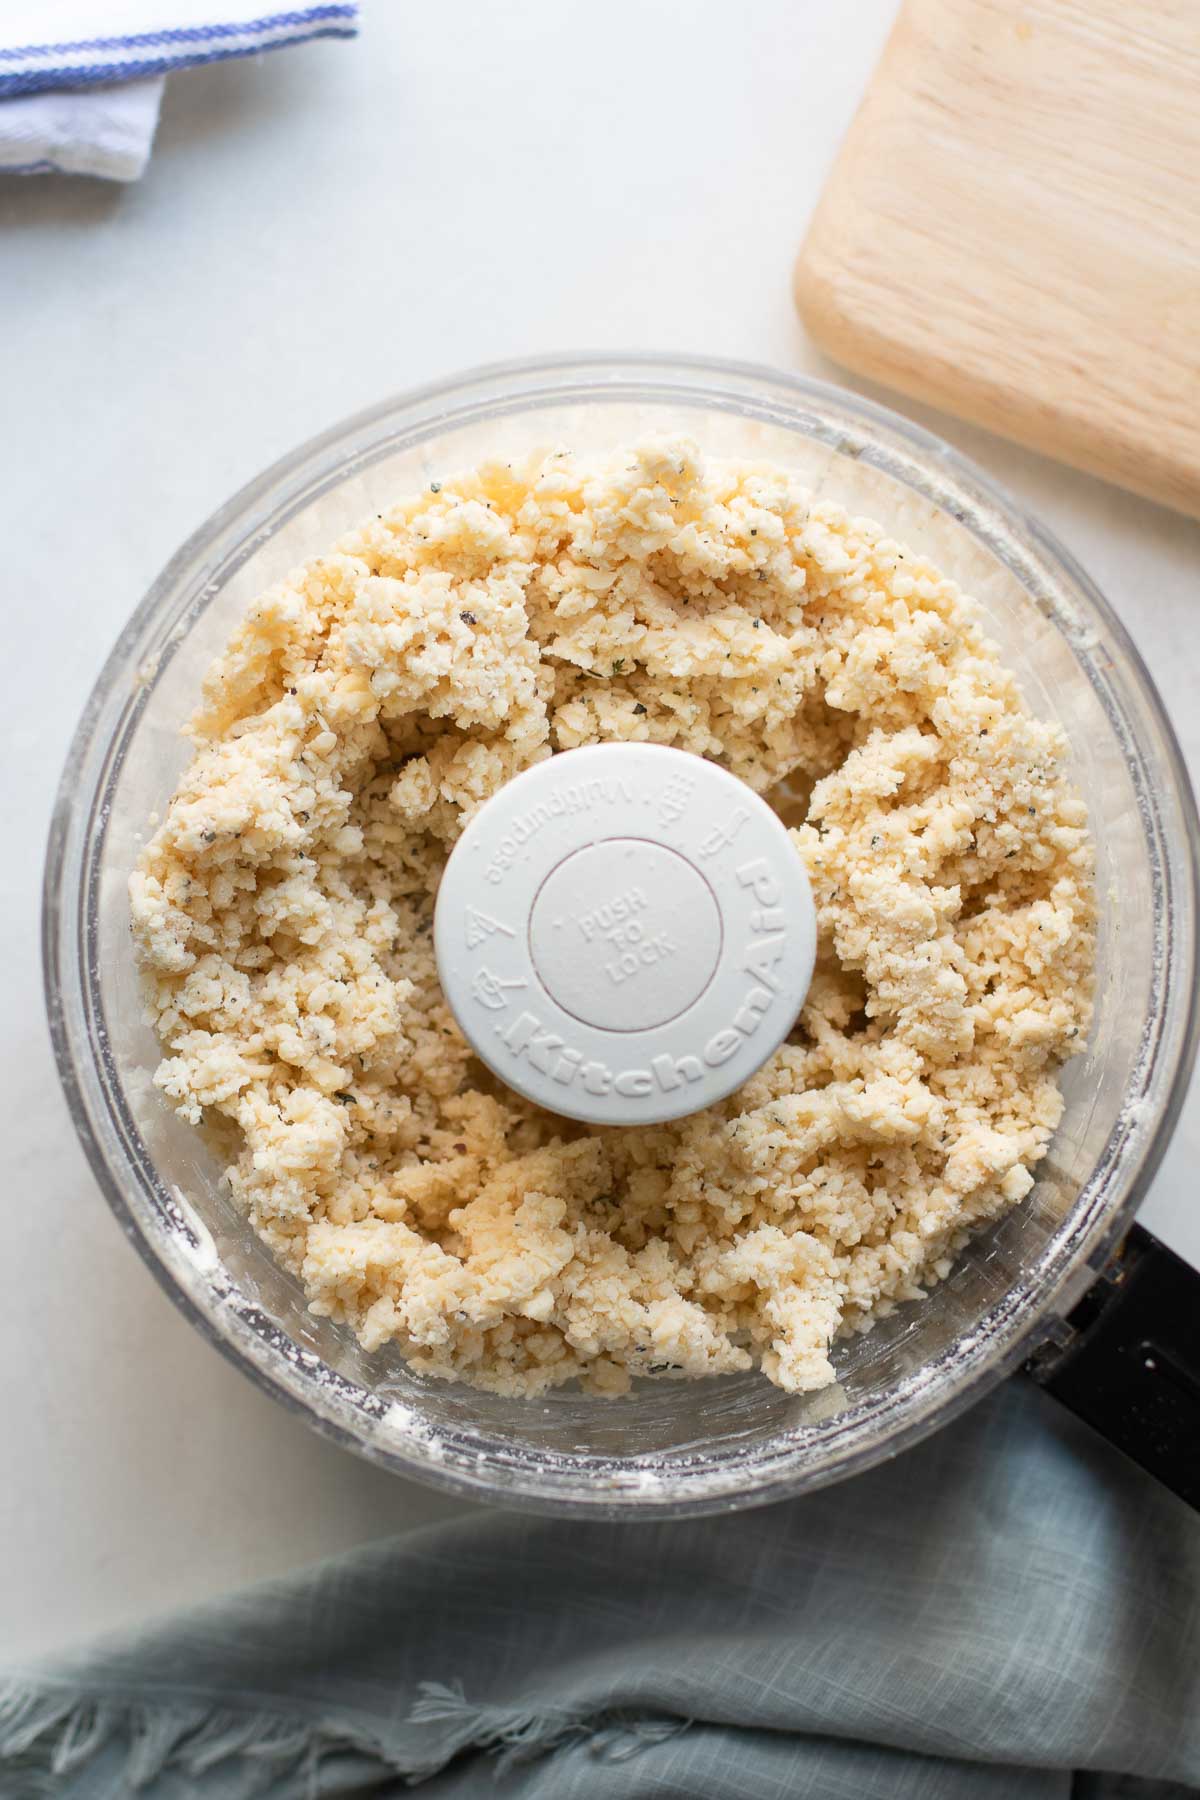
Grate your cheese using the food processor. Since you’re already going to have to clean the food processor, use the grating attachment to quickly shred your cheese before starting the recipe. No need for a separate cheese grater and you can shred an 8-ounce bar in a matter of seconds.
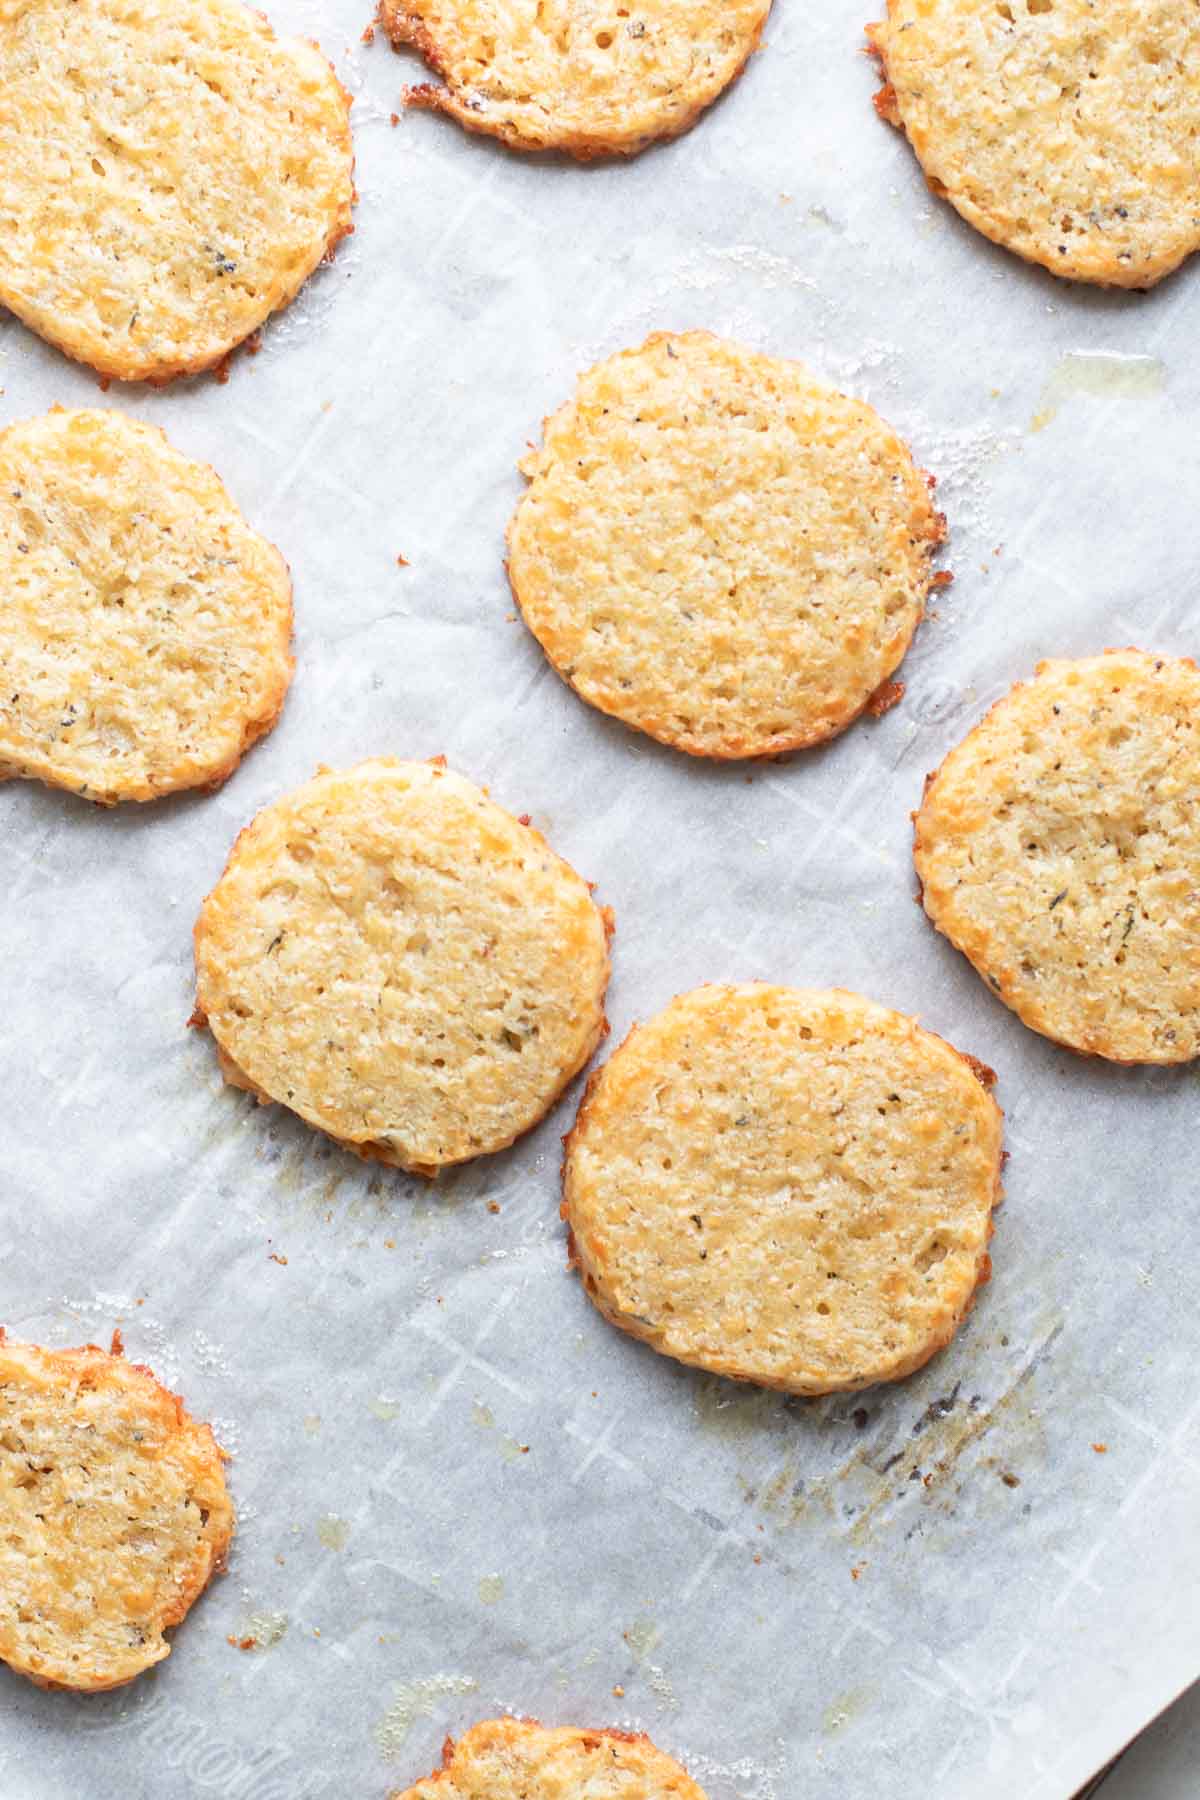
Use parchment or a silicone baking mat. This step is really just for ease. Because these have plenty of butter, they shouldn’t really stick to the pan. But the cheese will brown on the surface – this is a good thing. Using parchment or a mat will help avoid having to scrape off those caramelized, cheesy bits.
Space the cookies well on the baking sheet. So that the cookies get crispy around the edges, be sure to leave at least an inch of space between each of the cookie rounds.
Quality cheese is essential
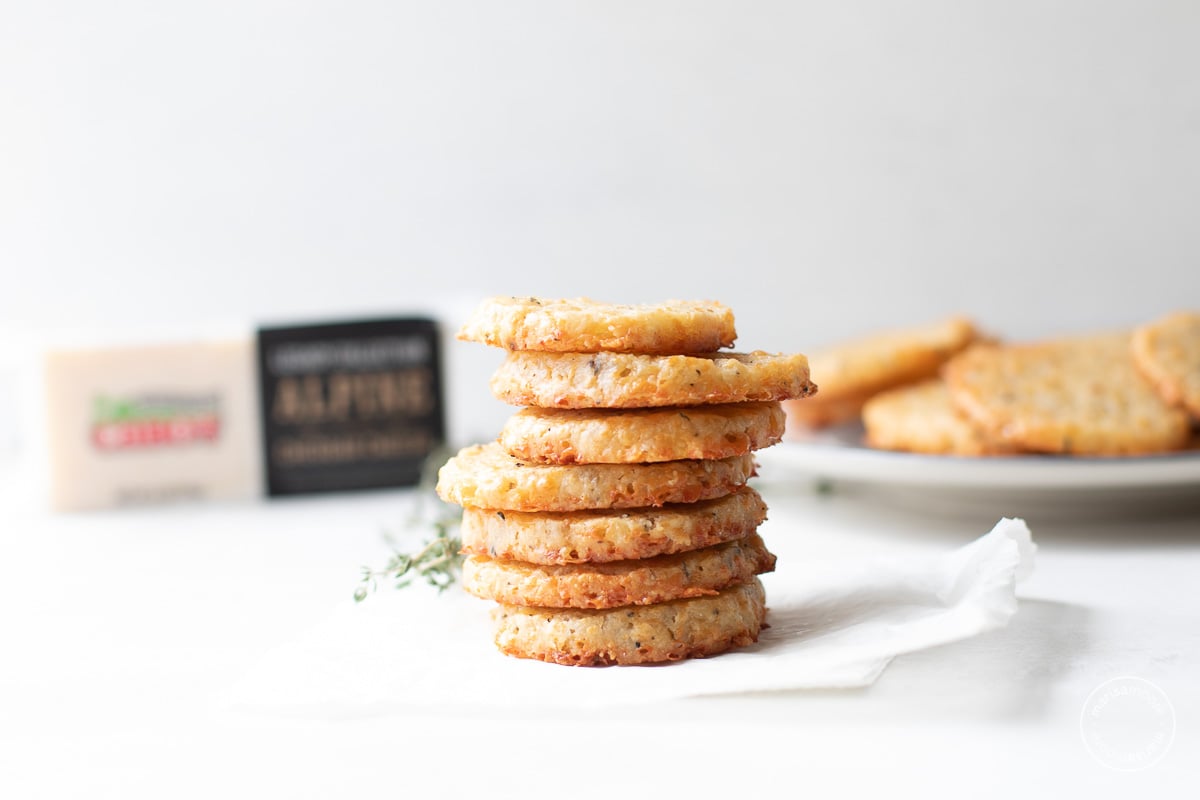
The cheese is the star of these savory cookies. So it’s important to use one that you love because it will be the most prominent flavor. I am using Cabot Vermont Alpine Cheddar Cheese.
I tried it at cheese and wine tasting years ago and I’ve been including it in my holiday and other special recipes ever since. You can use it every day but adds a nuttiness to recipes and a touch of elegance too.
Use what works for you. I also like Cabot’s Extra Sharp Cheddar or Horseradish Cheddar for this recipe if you can find it in your area. But the Alpine cheddar adds a rich, almost parmesan flavor and toasts up perfectly in the oven.
If you’re not familiar, Cabot is a co-operative owned by farm families throughout New England & New York and 100% of profits go back to the farmers.
Storage tips
Be sure to let the cookies cool fully before storing them.
Store the cooled cookies in an airtight container for up to 3 days at room temperature. If you refrigerate them, you can reheat them in the toaster oven or simply let them come to room temperature before serving.
Serving ideas
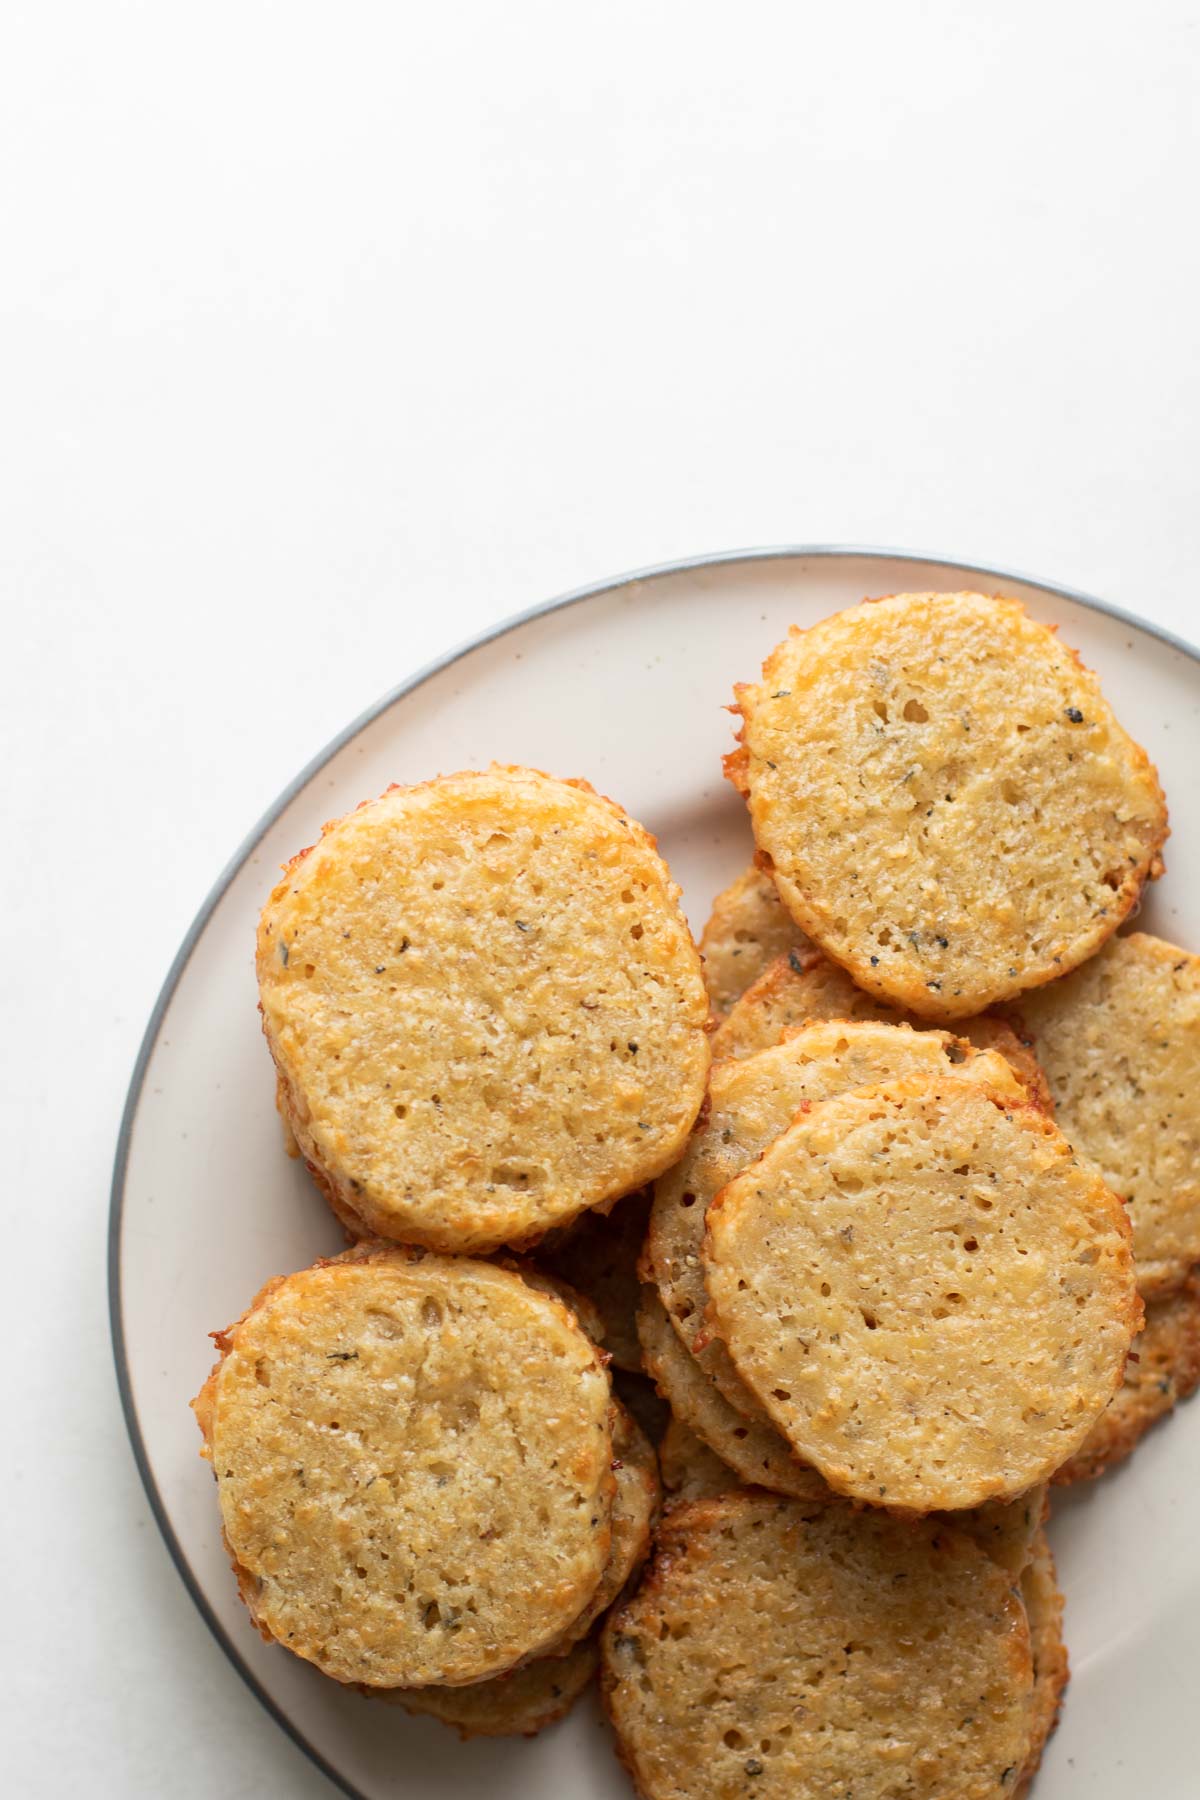
You can serve these herbed cheese cookies as an appetizer at a holiday party or brunch.
Pair with a crisp white wine or sparkling apple cider. Let the cookies be the star of a snack or charcuterie board with grapes or other fruit. It’s a different way to add cheese to a board that your guests will not stop talking about.
Because these can be prepped ahead of time, they are ideal for a party. Simply roll, wrap, let thaw. Follow the directions from the point of slicing for a fresh, cheesy appetizer in minutes.
These cookies are also perfect as food gifts. Just add to a tin box or glass jar with a lid and add a bow!
How will you use this recipe? Please let me know in the comments or on Instagram. I’m always looking for new ideas!
Herbed Cheese Cookies
Equipment
- food processor
Ingredients
- 1 cup freshly shredded Cabot Alpine Cheddar Cheese (see tips in the post)
- 1 cup all-purpose flour
- 2 tablespoon fresh thyme leaves
- 1 teaspoon fresh cracked black pepper, plus more for topping
- ¼ teaspoon coarse salt
- 5 tablespoon cold unsalted butter, cubed
- 3-4 tablespoon iced water
- 1 large egg (optional)
Instructions
- Pulse the cheese, flour, thyme, black pepper, and salt in the bowl of a food processor fitted with the blade attachment, about 25-30 seconds until the cheese is incorporated with the flour. Add the cold butter cubes, and pulse 10-15 times until the butter is about pea size.
- Stream in 2 tablespoons of water, then 1-2 additional tablespoons one at a time if needed until the mixture looks like wet sand. You’ll know the dough is ready when it holds together if pressed in your hand.
- Shape the dough into a 10-inch log (with a 2-inch diameter). Wrap tightly in plastic wrap and refrigerate, at least an hour (or freeze up to one month).
- When ready to bake: Preheat the oven to 375F. Line a large baking sheet with parchment paper or a silicone baking mat.
- Unwrap the log and slice it into ½-inch thick slices. Place cookies on the prepared baking sheet 1 inch apart. Cook in batches or use two baking sheets (rotated) if needed.
- If using an egg wash, whisk the egg and 1 tablespoon of water in a small bowl. Brush lightly over each cookie disk.
- Bake until the cookies are lightly golden around the edges, about 14 minutes. Remove from the oven. Top lightly with extra black pepper, if desired. Cool on the baking sheet atop a wire rack for at least 10 minutes. Serve or store cooled cookies in an airtight container at room temperature for up to 3 days.
Notes
- Slice the cookies into the same thickness.
- Shred your cheese from a block. Use the food processor to do this in seconds.
- Use parchment or a silicone baking mat.
- Space the cookies well on the baking sheet.



Leave a Reply