
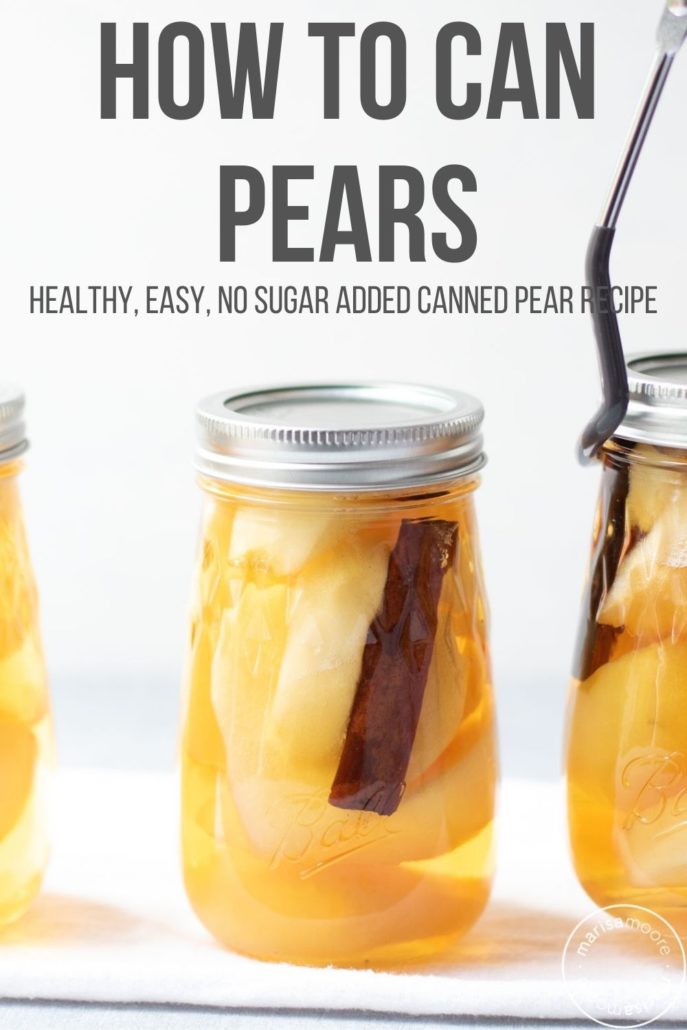
This easy, step-by-step recipe will show you how to preserve fresh pears at home. These cinnamon-spiced canned pears have no added sugar – so it’s a healthy option that’s also perfect for beginners!

These canned cinnamon pears are sweet without added sugar and bursting with delectable spice from fresh cinnamon sticks. The recipe is easy to make and perfect for preserving pears all season long.
This easy canning recipe has only a few simple steps – and is a perfect way to use up extra fresh pears this fall.
Fall canning recipes usually focus on apples, but pears are the perfect pick for canning when the weather turns cooler. As a dietitian, I am also always looking for canning recipes that are lower in sugar. This one checks all the boxes!
And I have to admit, these canned cinnamon pears are my favorite home canning recipe so far.
You will need
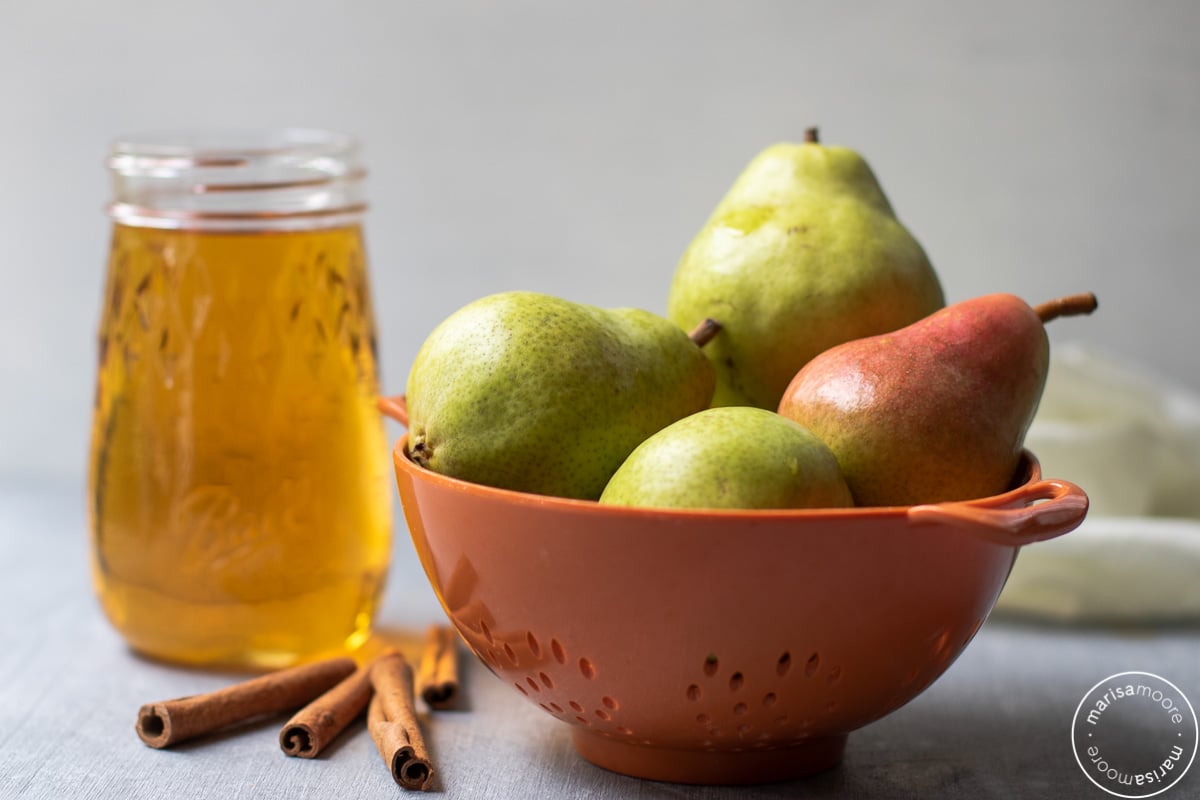
Fresh pears
Apple juice
Cinnamon sticks
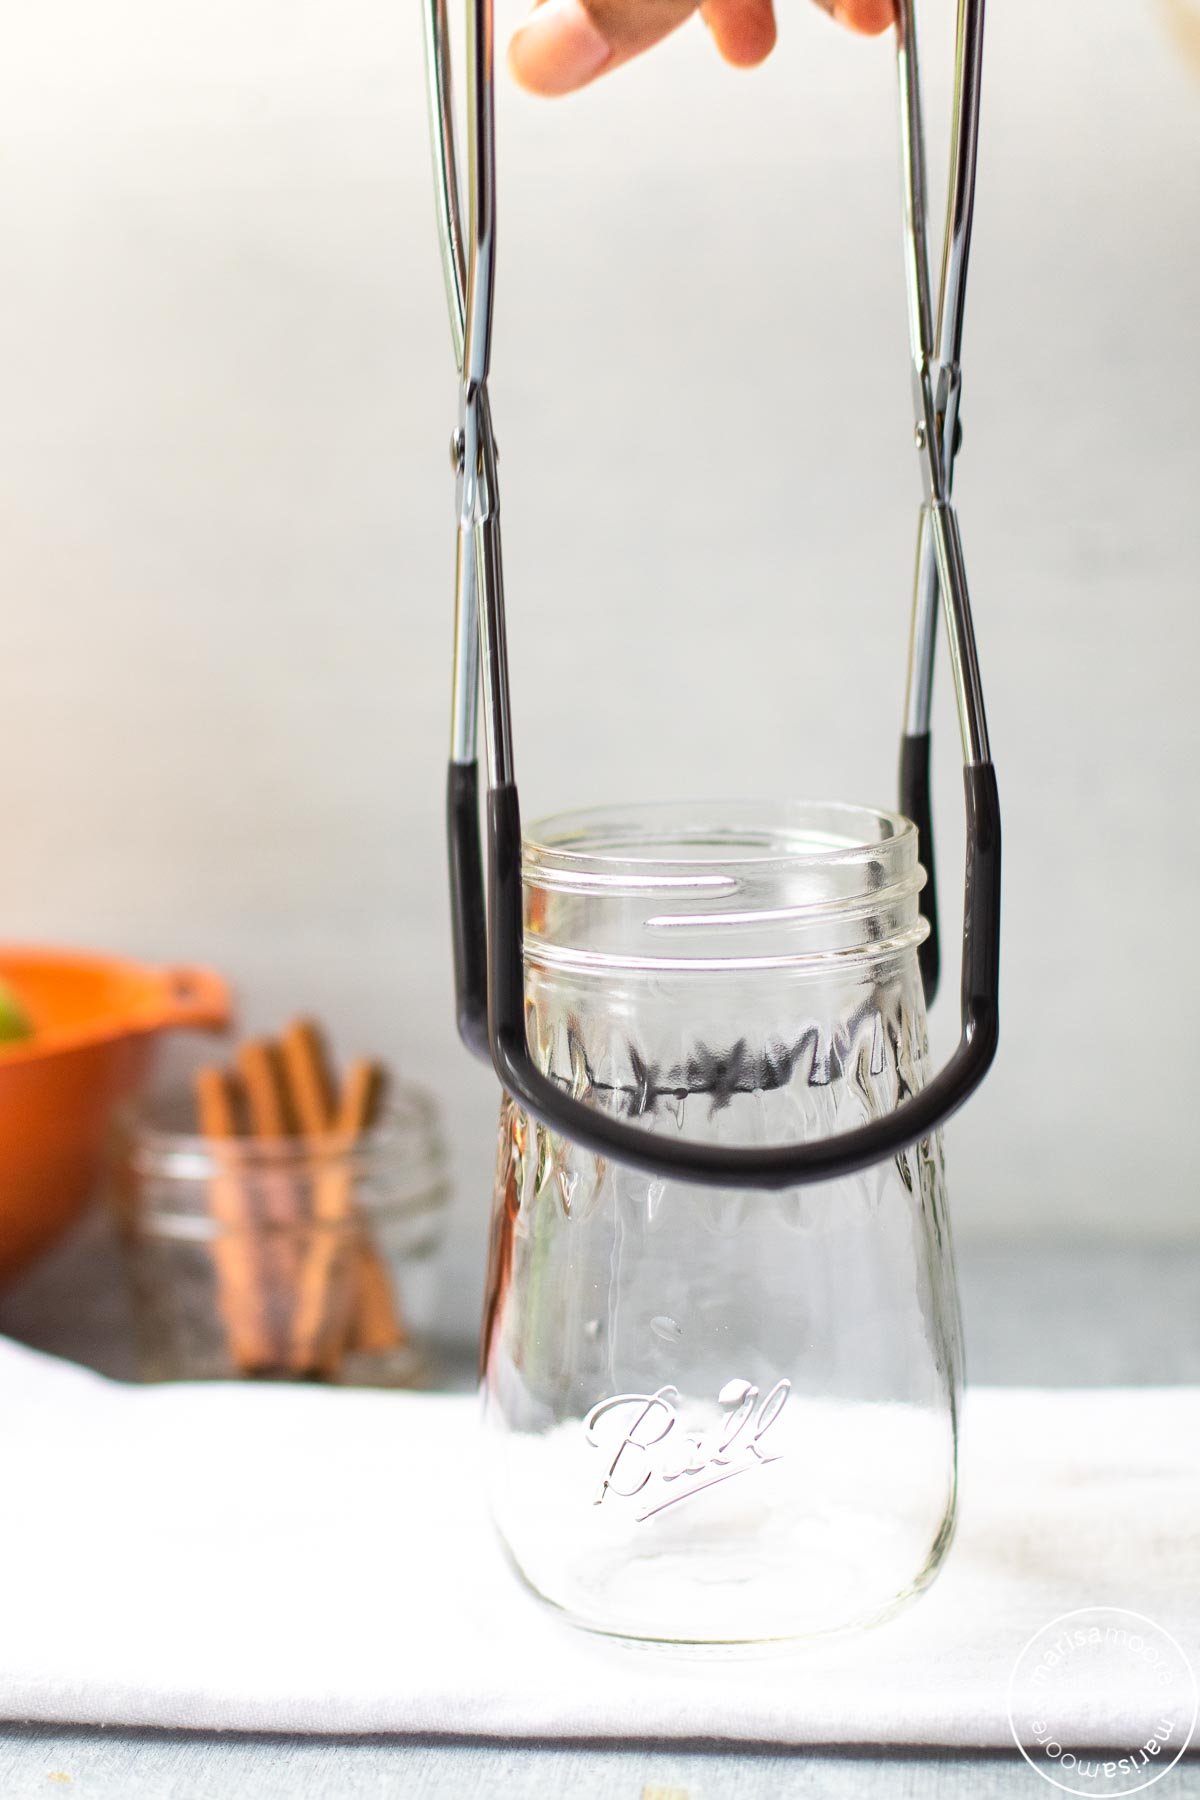
Glass canning jars with lids and bands (see below)
Boiling water canner, headspace tool, funnel or ladle (see below)
I am using Ball® Flute Jars, which provide a touch of elegance. The fluted tops of these jars make for a beautiful presentation. Perfect if you plan to give these pears as a gift or serve your pears as part of a snack board or charcuterie tray.
If this is your first time preserving pears or any food at all, you’ll need a few items to do it right. This 4-Piece Canning Kit is complete. It has all of the essentials plus the water canner. But if you just need the headspace checker (shown below), jar lifter and funnel, go for this Canning Starter Kit.
Note: The water canner is large so make sure you have space to store it.
What are the best pears to can?
Bartlett pears are probably the best ones to can. They are firm enough to keep their shape and texture.
While you can find pears all year long in most supermarkets, pears are in season August – March. This is when they taste the best and are the least expensive. The time is now to start canning pears to enjoy all year long.
And I promise. You will want these homemade canned pears over all others from now on. The ones on the shelves at the grocery stores do not compare to the flavor of home-canned pears!
Ok… Off my soapbox. Let’s get to the recipe.
Let’s can fresh pears!
This recipe couldn’t be much easier.
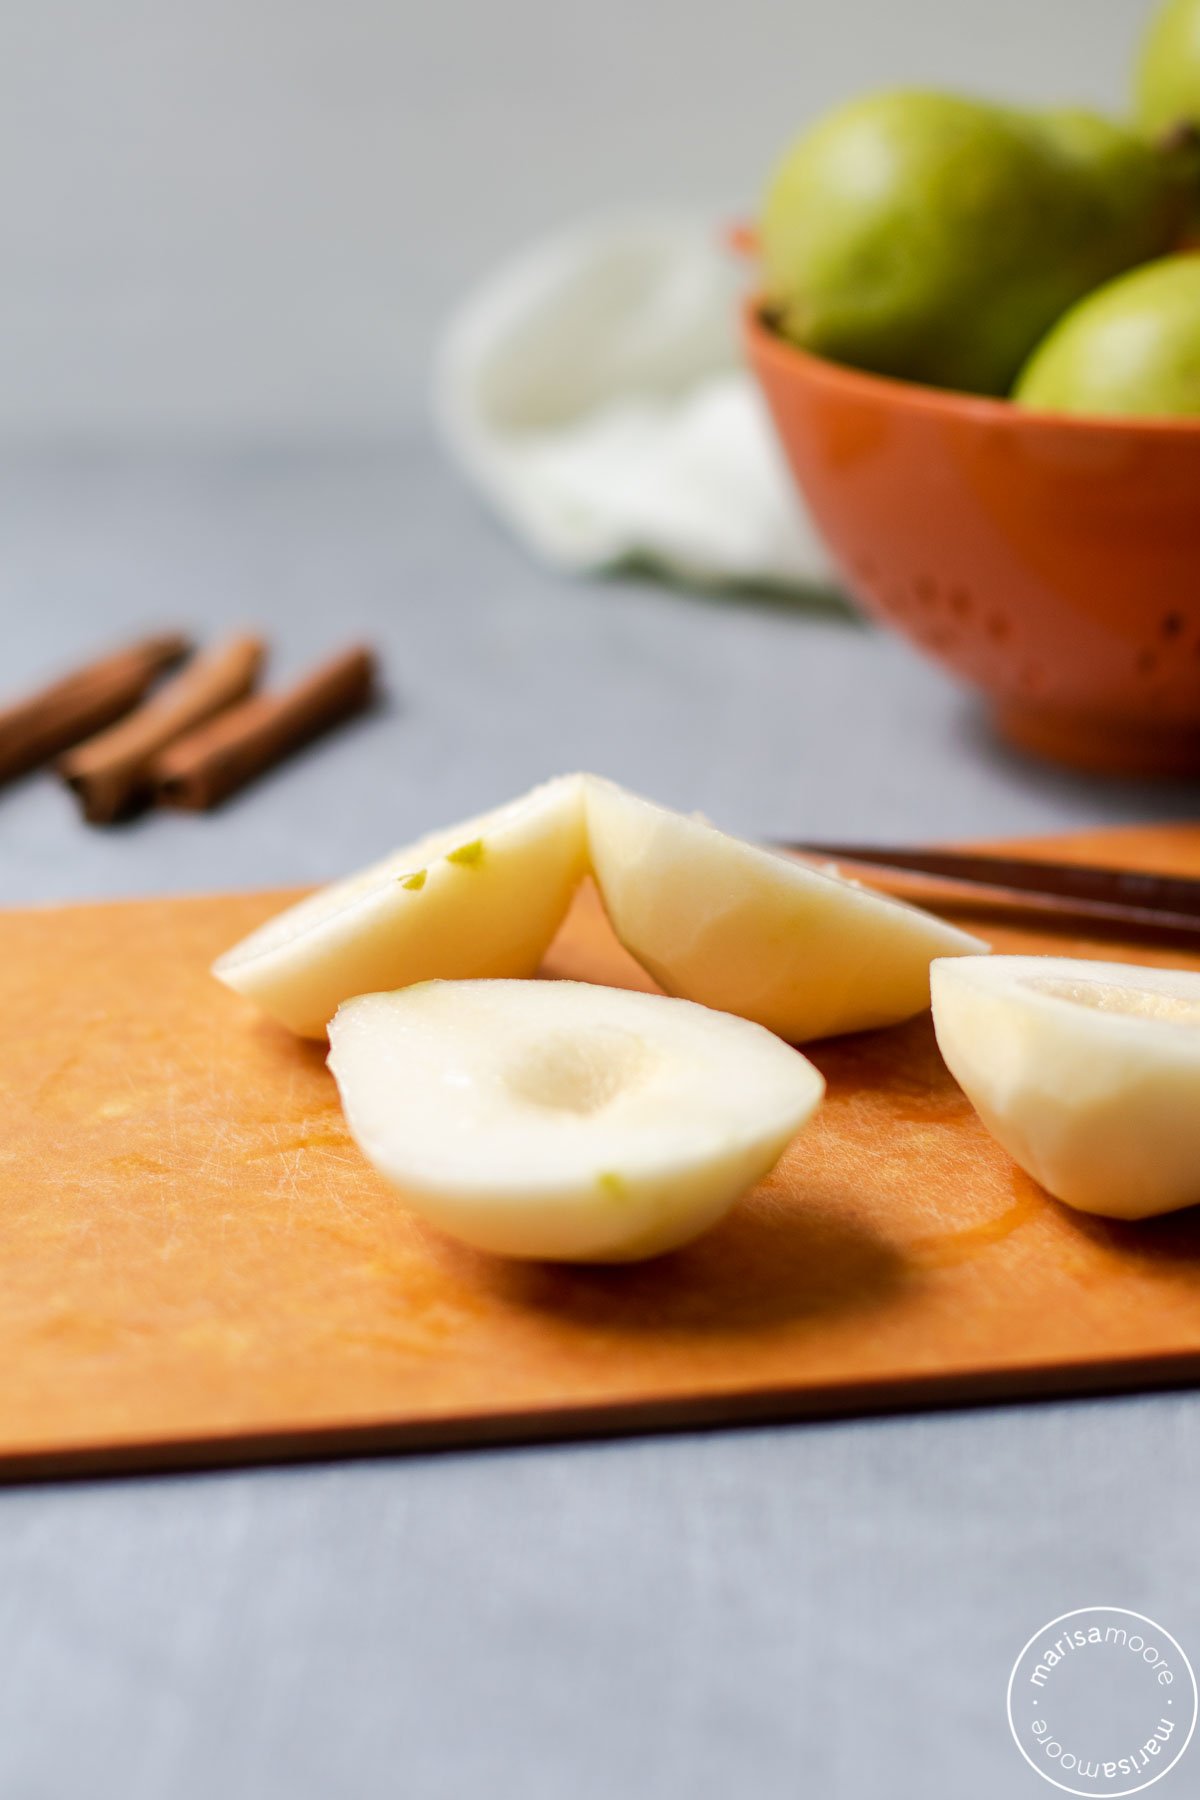
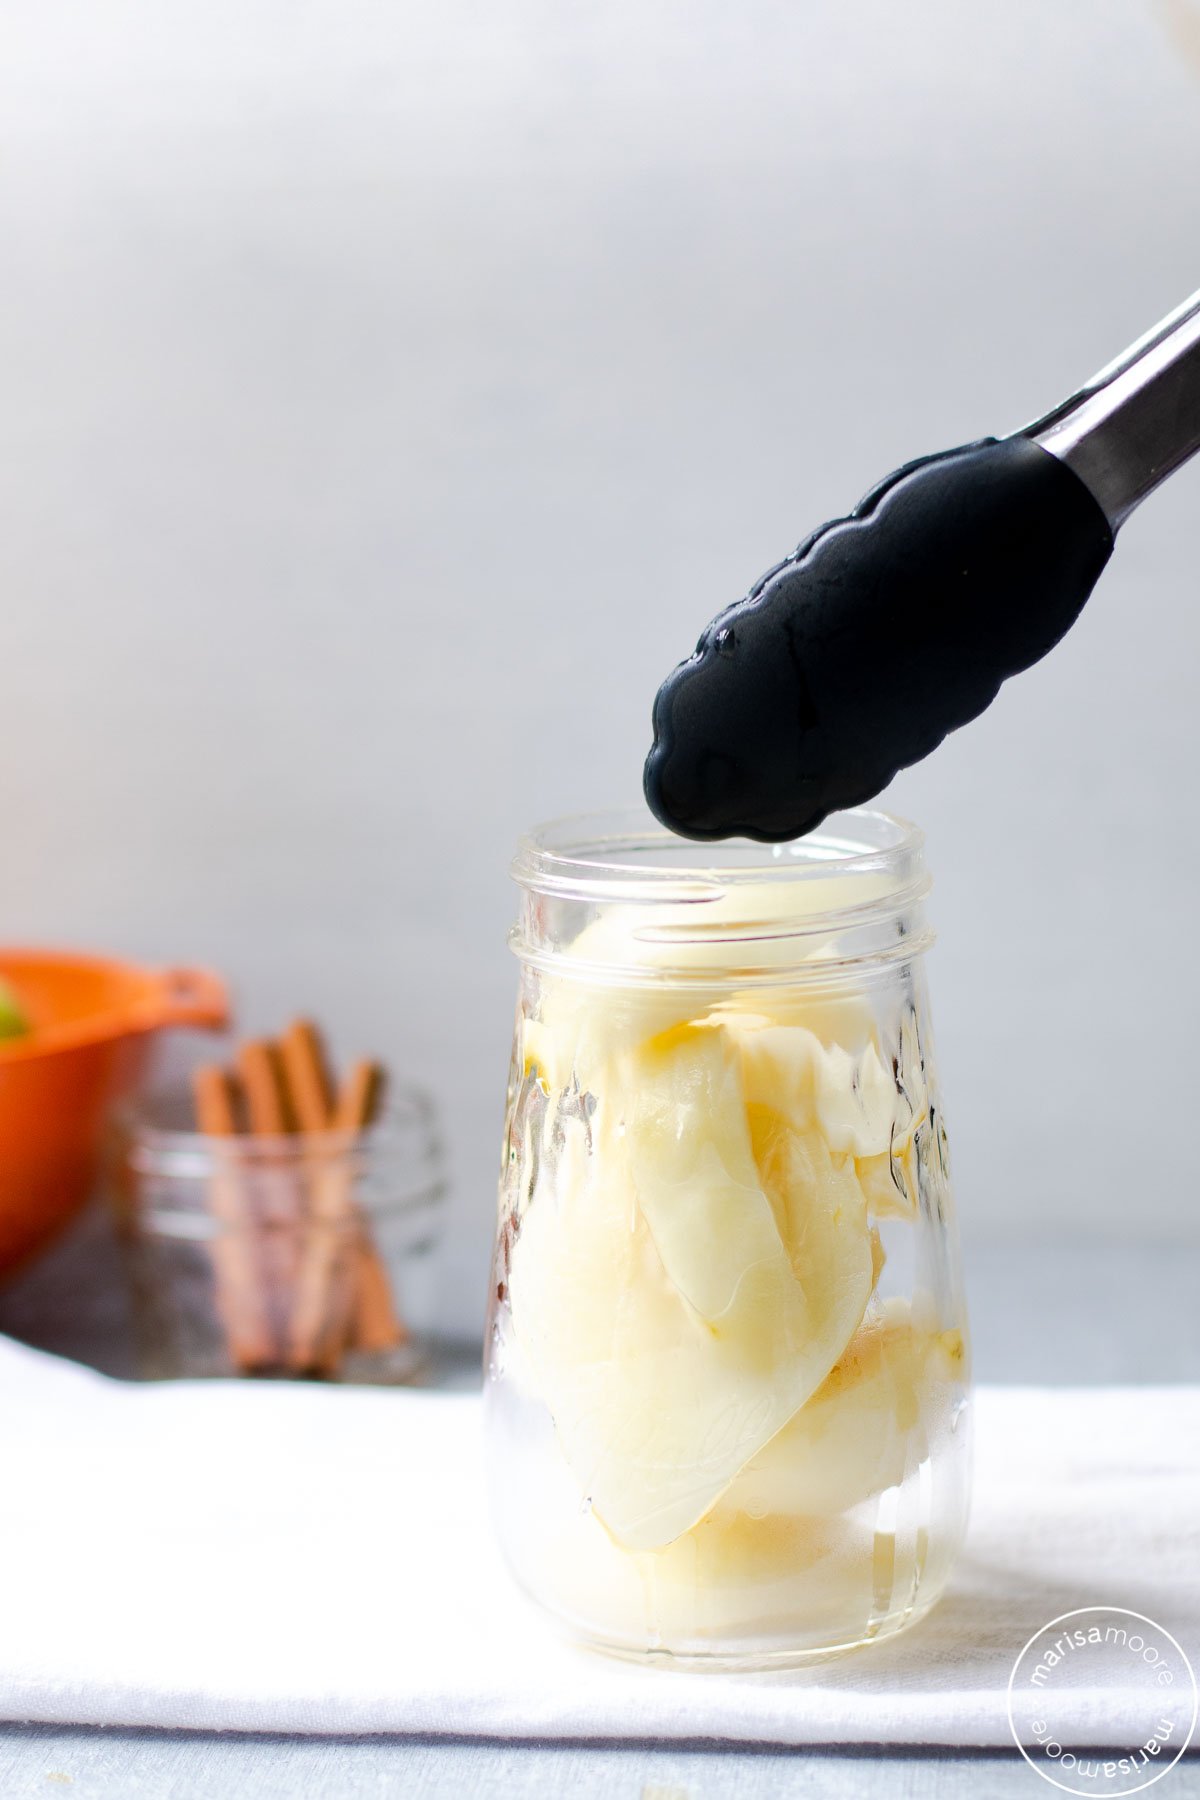
First, you’ll peel, core, and slice the pears. Heat them in a single layer in water.
TIP: Use a small melon baller or spoon to easily remove the seeds.
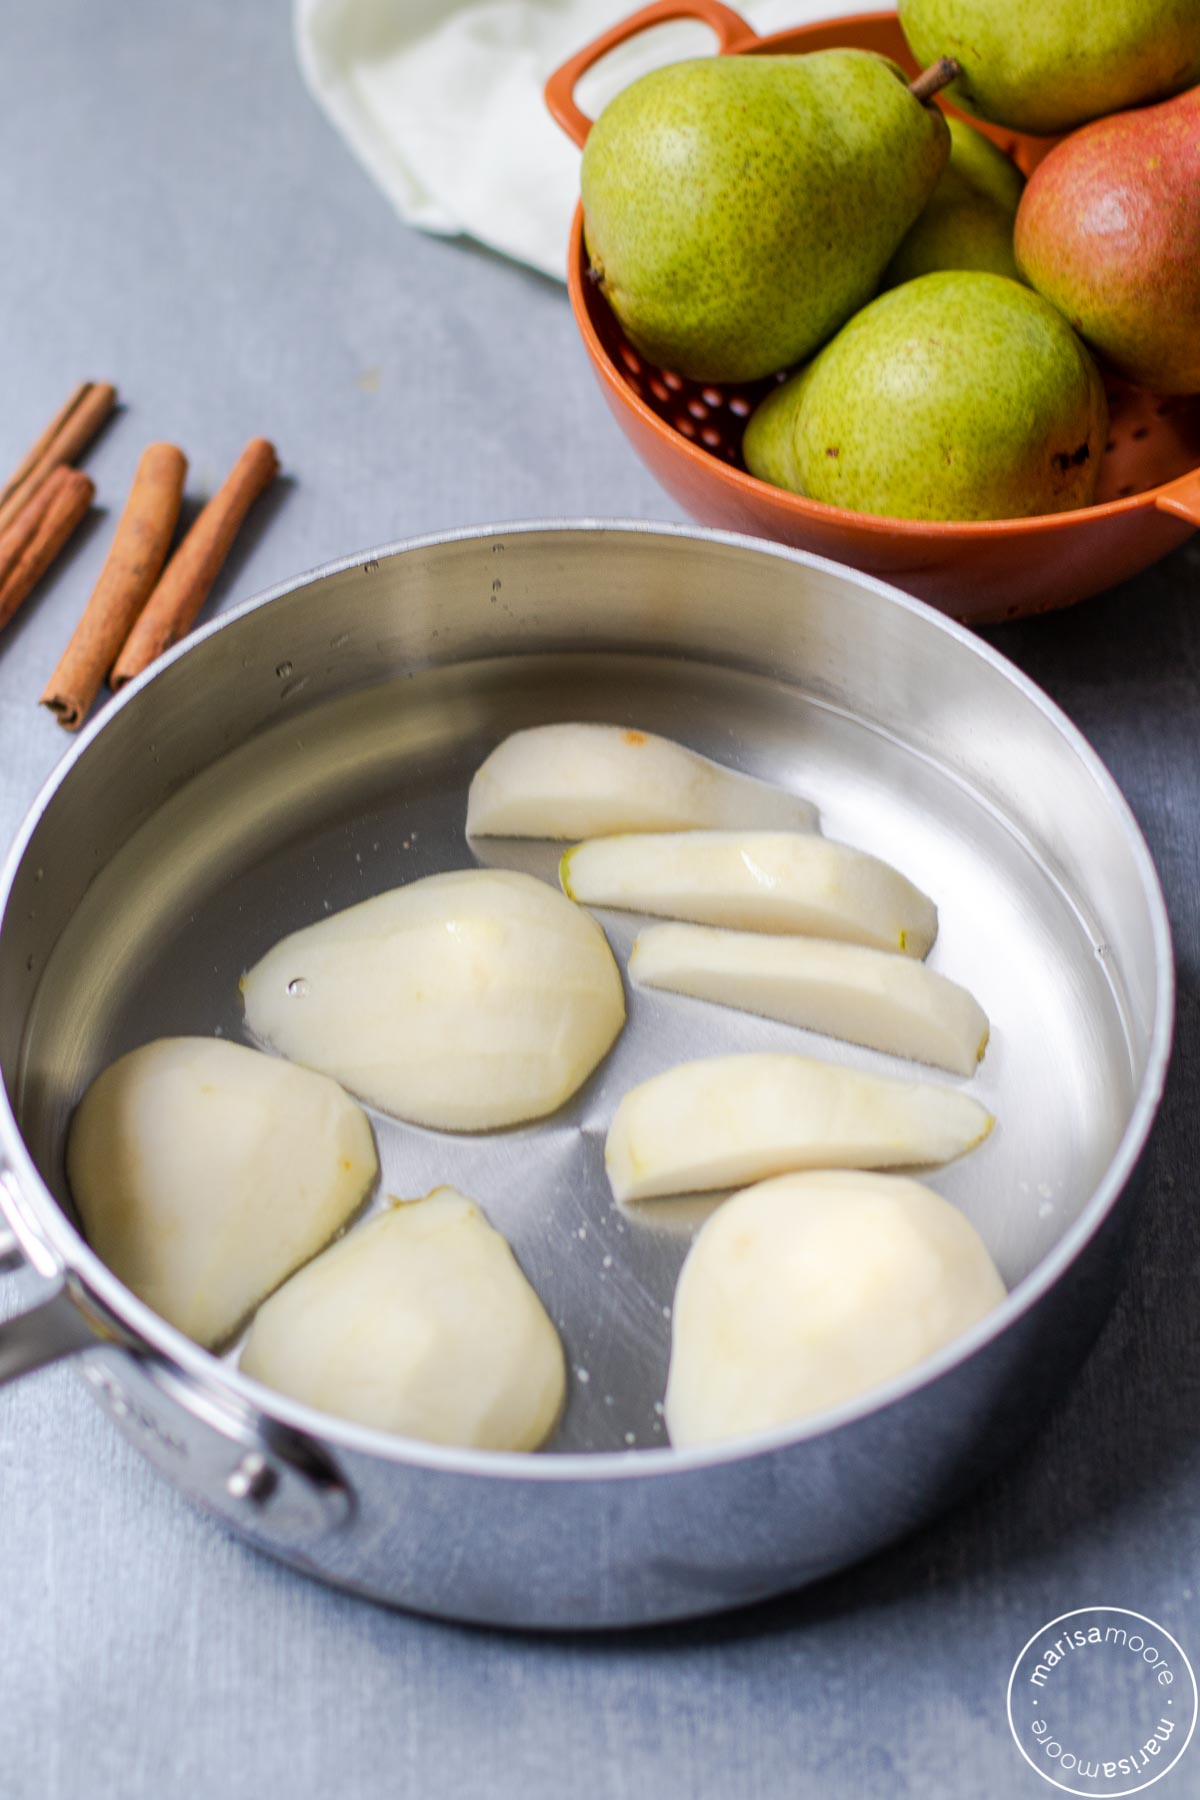
Meanwhile, boil the apple juice and heat the jars in the canner.
Pack the hot pears into the jars – one jar at a time.
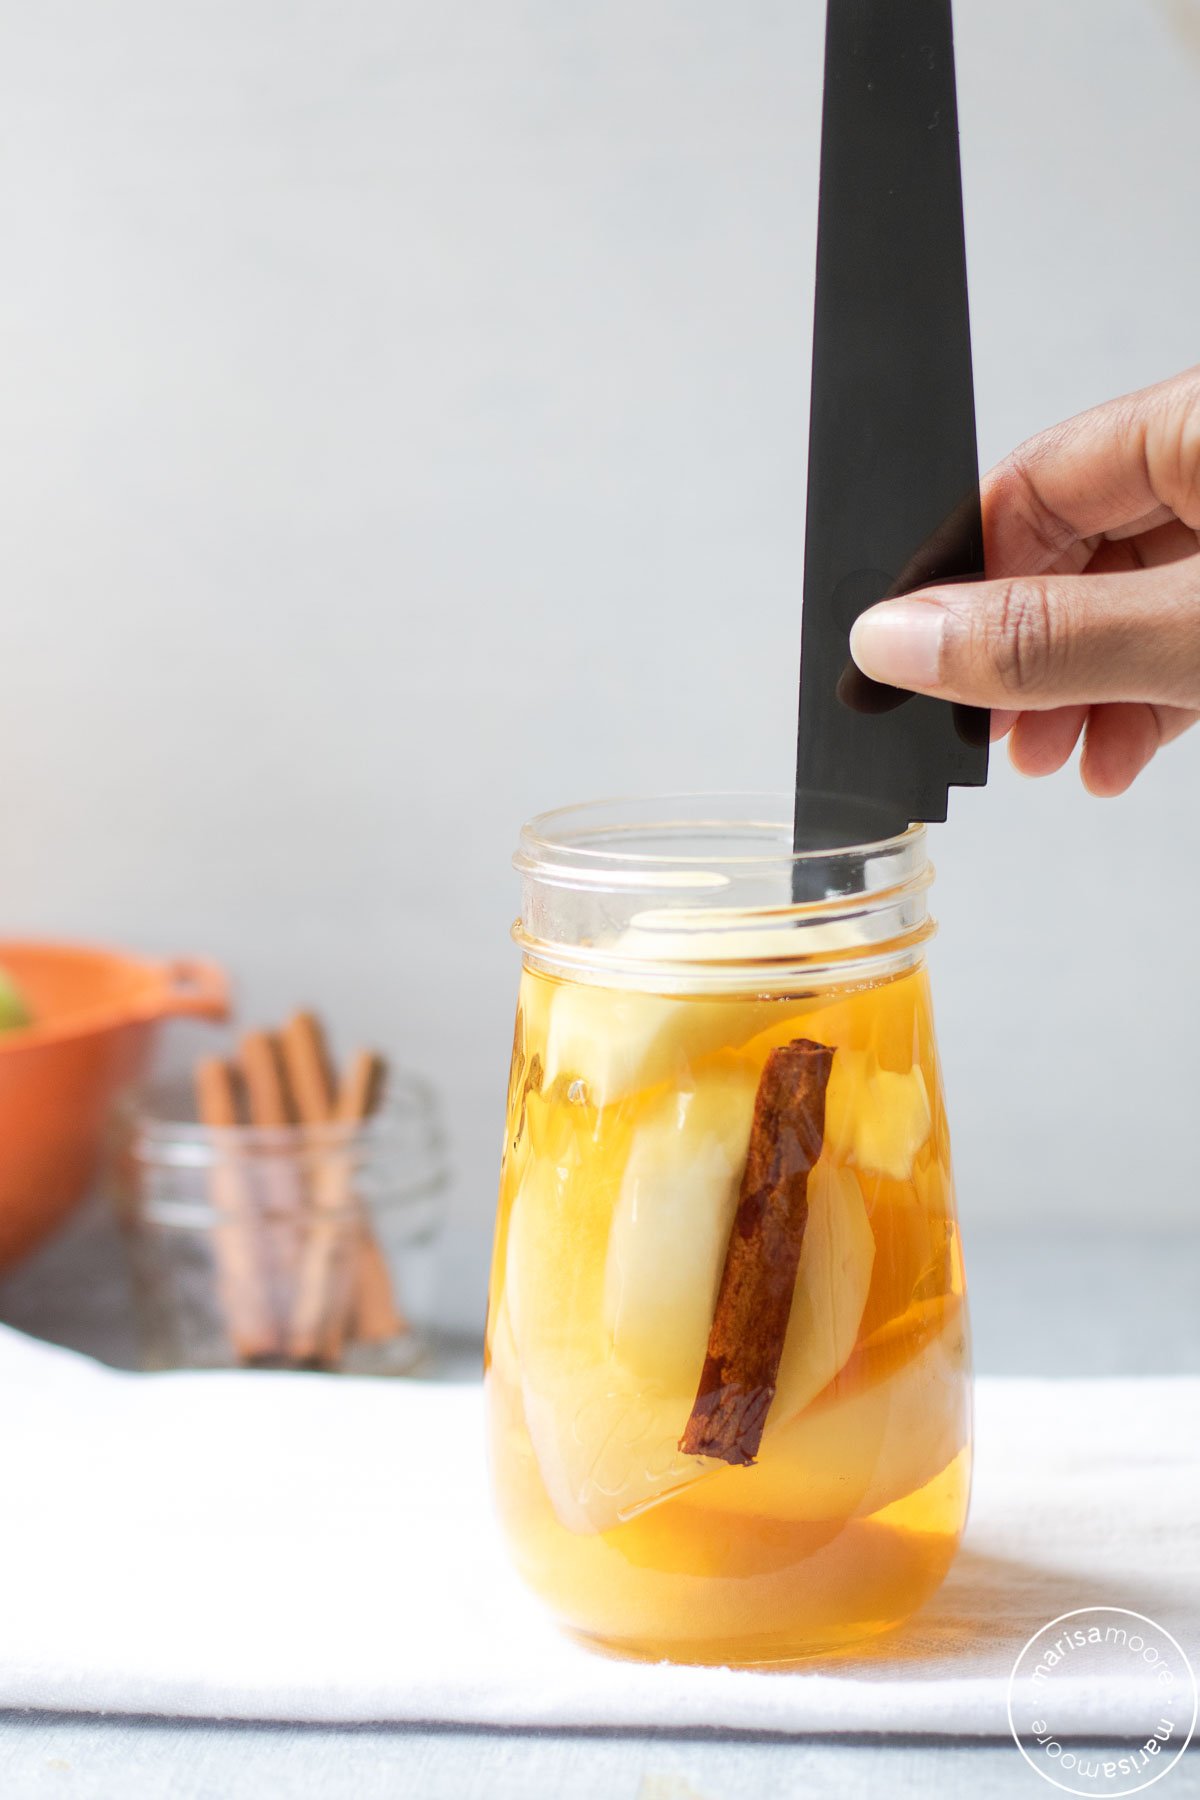
Add the cinnamon stick. I promise you only need one. And I highly recommend using it not skipping.
Pour in the hot apple juice.
Use your headspace tool to leave ½ inch headspace at the top.
I was able to get 3 pints from about 2 pounds of pears. You may have noticed that these are small pears.
Canned fruit with less sugar?
Yes. This is one of my favorite things about this canned pear recipe. The pears are naturally sweetened with apple juice! That’s the trick to pulling these off. And the cinnamon stick really does add a lot of flavor.
I used a no-sugar-added apple juice that has vitamin C added. I’m thinking the vitamin C will help reduce browning a bit.
Ways to eat canned pears
Homemade pears will last on the shelf for up to 18 months when properly canned. So you’ll have plenty of opportunities to enjoy these pears.
- As a snack all on their own
- On top of oatmeal
- Sliced and baked into a quickbread
- Diced and tossed into a fall or winter salad
- Served on a charcuterie board
- Stuffed with your favorite soft cheese

How will you use this recipe? Please let me know in the comments. I’m always looking for new ideas!
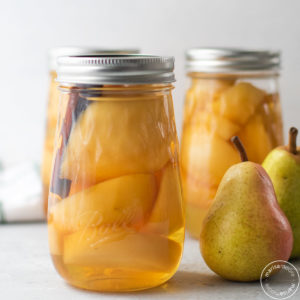
Cinnamon Pears in Apple Juice – How to Can Pears
Ingredients
- 1- 1½ lb pears (3 to 5 medium) per pint
- 1 Cinnamon stick per pint
- Unsweetened apple juice
Instructions
- PREPARE boiling water canner. Heat jars in simmering water until ready for use. Do not boil. Wash lids in warm soapy water and set bands aside.
- WASH pears. Drain. Peel, core and cut into halves. If desired, treat with fruit fresh or lemon juice to prevent browning.
- COOK pears in water one layer at a time until hot throughout. Heat apple juice to a boil.
- PACK hot pears, cavity side down, into hot jars leaving ½-inch headspace. Place 1 cinnamon stick in each jar.
- LADLE hot juice over pears leaving ½-inch headspace. Remove air bubbles. Wipe rim. Center hot lid on jar. Apply band and adjust until fingertip tight. Place jar in boiling water canner. Repeat until all jars are filled.
- PROCESS jars for 20 minutes, adjusting for altitude. Turn off heat; remove lid and let jars stand 5 minutes. Remove jars and cool. Check for seal after 24 hours. Lids should not flex up and down when center is pressed.

Patty Cook
I canned my pears with 1 cinnamon stick in each jar – I just opened the pint jar and it is way too much cinnamon flavor. I did read the way to counter act the cinnamon is with white or brown sugar and nutmeg – what do you think?
Franca
This is helpful! I had the same thought, maybe just a 1 inch piece of cinnamon stick in each jar!? I will be trying this recipe soon! Thank you.
Yolandie
Nice I’ve just finished my batch and they look absolutely amazing followed all the steps and my pears from my tree can now be kept throughout the winter thank you for this very easy recipe and it’s all natural sweetness which is great THANK YOU ONCE MORE
Shena
If I don’t have cinnamon sticks could I use ground cinnamon?
Nina
Hello, I’m excited to try this. Is it important to boil the pears first? Or, if you pop them in the jar raw, will they ‘boil’ in the apple juice for 20 mins? Thanks
Marisa
Hi! Yes. It’s important to follow each step of this recipe as written to ensure canning is done properly.
Deb Ross
Do you have to peel the pears?
Marisa
Hi Deb. I’ve only ever peeled them for this recipe. I am not sure how well the recipe will work with the skin on.
Melissa Karch, RDN
Looks like a great seasonal recipe! I’m going to share this on my blog this week!
Marisa
Thanks so much, Melissa. I appreciate you sending folks my way! And I hope you get to try the recipe for yourself too!